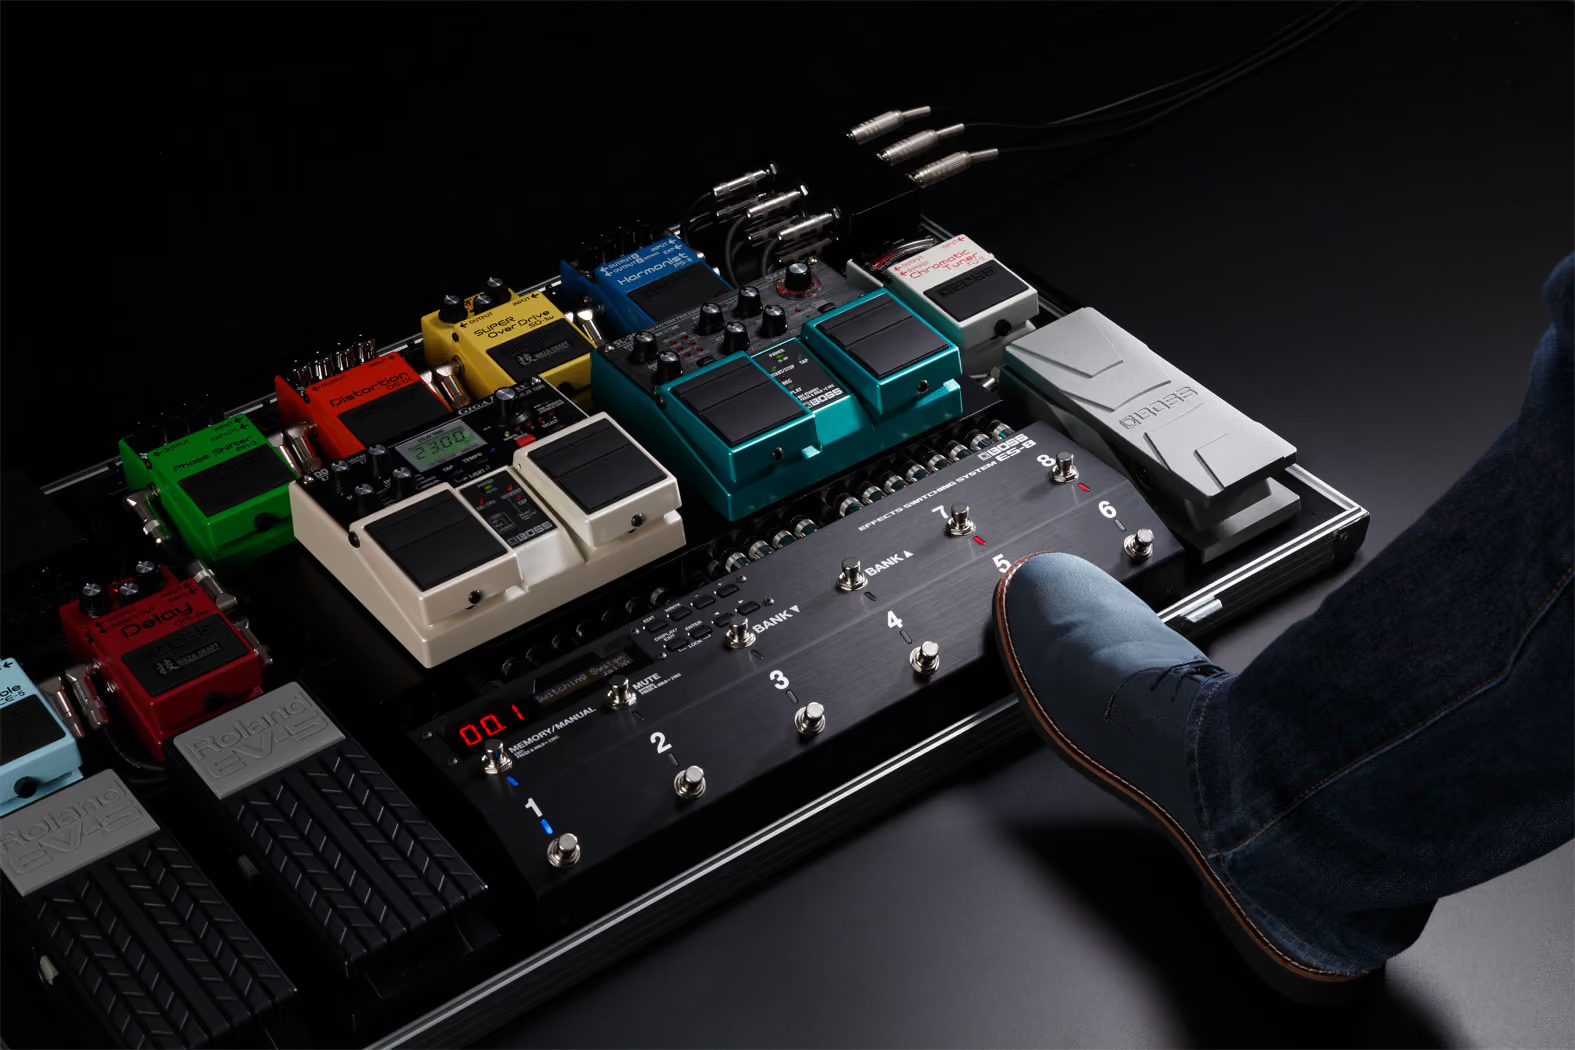
Week 12 Stage: Systems Integration
Engineering the Complete Tone
Photo: Michael Morel · CC BY 2.0
Given a desired guitar sound, how can we reason backwards and design a signal chain to create it?
- InputA target description of a sound, not a list of settings
- ProcessA deliberate decision at every stage of the chain, in signal order, justified by what came before
- OutputA complete, engineered guitar signal chain
Where we left off
Twelve weeks, one chain
Every week since Week 1 has looked at one stage of the same chain in isolation: a string’s vibration, a pickup’s sensitivity, a gain stage’s headroom, a clipping curve’s shape, a filter’s cutoff, a modulation effect’s sweep, a delay or reverb’s decay, an amplifier’s staged gain, a cabinet’s coloration. None of those stages is the whole story on its own. This week introduces no new physics or signal processing — it asks a different question of everything already covered: given a target sound, how do you work backwards through this chain and choose settings, in order, that get you there? By the end of this week you should be able to identify the major variables that determine guitar tone, trace cause and effect across the entire signal chain, design a guitar signal chain for a target outcome, justify effect ordering using signal-processing principles, recognise trade-offs between different engineering choices, and explain how multiple different systems can produce perceptually similar outcomes.
- Player
- String
- Pickup
- Guitar electronics
- Gain stages
- Nonlinear processing
- Filters
- Modulation
- Delay / reverb
- Amplifier
- Speaker / cabinet
- Air
- Listener
The complete chain
Thirteen links, one signal path
Thirteen links, each one a week (or part of a week) of this course: a player’s action sets a string vibrating; the string’s motion is sensed by a pickup; the pickup’s signal passes through the guitar’s own electronics; gain stages amplify it; nonlinear processing (clipping, fuzz) reshapes it; filters carve its frequency content; modulation and delay/reverb add time-based movement and repetition; an amplifier applies its own staged gain, filtering, and nonlinearity; a speaker and cabinet convert the result to acoustic pressure; that pressure travels through air; a listener perceives it. Nothing here is new — this is Weeks 1 through 11, laid end to end.
Restricting the picture to just the chain’s linear stages — pickup tilt, Tone/EQ, the amplifier’s tone stack, the cabinet — shows how each one layers onto the last, building up the chain’s overall frequency response one decision at a time:
- Pickup tilt
- + Tone/EQ
- + Amplifier tone stack
- + Cabinet
Design method
Reasoning backwards from a target description
Start with a target description, not a list of settings. For example: a clear but heavily saturated lead tone with long sustain and enough midrange emphasis to remain audible in a dense mix.
Reasoning backwards from that description means making a decision at every stage: which pickup position gives the brightness and sensitivity the tone needs; whether EQ should shape the signal before or after distortion; how much gain, and distributed across how many stages; which clipping characteristic gives “heavily saturated” without losing “clear”; what post-distortion filtering is needed to control harshness; whether modulation adds movement or just clutter; whether delay or reverb helps “long sustain” read as space rather than mud; what amplifier settings reinforce the rest; and what cabinet response keeps the midrange audible. Every one of those decisions was introduced somewhere in Weeks 1–11 — this week is about making them together, deliberately, for a stated goal.
Order and trade-offs
Why effects are not interchangeable
Because most of this chain is a sequence of operations, and several of those operations are nonlinear, where an effect sits changes what it does — not just its own output, but what every stage after it receives. EQ before distortion reshapes what the nonlinearity has to work with, changing which harmonics get generated; EQ after distortion only reweights harmonics the nonlinearity already created. The same logic applies to reverb before versus after distortion, or modulation before versus after a gain stage. There is no single universal “correct” pedal order — different orders are different, deliberate design choices, each with its own consequence, the way different clipping topologies or cabinet profiles were different, deliberate choices earlier in the course.
Every stage’s settings trade one property against another, not just “more” against “less”: more saturation buys sustain and thickness at the cost of note definition; extending the high end buys clarity and presence at the cost of harshness; a heavier low end buys weight at the cost of mix clarity; a longer reverb tail buys space and atmosphere at the cost of note-to-note articulation. Designing a chain backwards from a target sound means choosing where on each of these trade-offs the target actually sits — not maximising every stage independently.
Engineering a guitar tone is not always about discovering the one correct chain. Because several stages can each independently push the overall sound brighter or darker, louder or quieter, two chains that make opposite choices at individual stages can still converge on a broadly similar overall shape. That doesn’t mean the two chains sound identical in every respect — only that “the right chain” is rarely unique.
- Recipe A — bright pickup, dark amp and cabinet
- Recipe B — dark pickup, bright amp and cabinet
Try it
The complete chain bench
- Player
- String
- Pickup
- Guitar electronics
- Gain stages
- Nonlinear processing
- Filters
- Modulation
- Delay / reverb
- Amplifier
- Speaker / cabinet
- Air
- Listener
This is the most integrated interaction in the course: pickup position, Tone/EQ (and whether it sits before or after the gain stage), drive and clipping shape, modulation, delay/reverb, amplifier drive and tone, and cabinet profile, all wired into one chain in signal order. Change a control early in the chain and listen for how everything downstream is affected — including whether it still sounds like “the same guitar” through a different amplifier and cabinet, or a genuinely different instrument. The frequency-response plot below the controls tracks only the chain’s linear (filter) stages — distortion, modulation, and delay/reverb aren’t single fixed frequency responses, so they show up in what you hear, not in that curve. This implementation is deliberately simplified: the goal is to demonstrate how the stages interact, not to emulate real guitar equipment precisely.
Audio never plays automatically — press play to hear it, press again to stop.
Bridge pickup, EQ at 4000 Hz pre-gain, asymmetric-soft clipping at 3.0×, modulation off, delay/reverb off, amplifier driving 3.0× with tone at 3000 Hz, flat cabinet.
This plot shows only the chain's linear (filter) stages layered together — it can't show what distortion, modulation, or delay/reverb do, since none of those are a single fixed "frequency response". Listen to hear those stages; watch this plot to see how pickup, EQ, amplifier tone, and cabinet combine.
Takeaways
What this week establishes
The complete guitar signal chain runs player → string → pickup → guitar electronics → gain stages → nonlinear processing → filters → modulation → delay/reverb → amplifier → speaker/cabinet → air → listener — every week of this course covers one or more of these links.
Designing a tone backwards from a target description means making a deliberate decision at every stage, not just turning up gain until something sounds close.
Effect order matters wherever a nonlinearity is involved — EQ before distortion and EQ after distortion produce genuinely different results from the same starting signal, and there is no single universal correct order.
Nearly every stage's settings trade one property against another (saturation vs. definition, brightness vs. harshness, low end vs. clarity, reverb length vs. articulation) rather than simply being 'more is better'.
Different chains, making opposite choices at individual stages, can still converge on a broadly similar overall result — engineering a tone is rarely about finding the one correct chain.
Course conclusion
Where this leaves the whole semester
- 01INPUTWhat Is Guitar Tone?
- 02STRINGThe Vibrating String
- 03PICKUPFrom Vibration to Voltage
- 04CIRCUITThe Guitar Is a Circuit
- 05DRIVEGain, Headroom and Clipping
- 06DISTORTIONInside overdrive, distortion and fuzz
- 07FILTERFilters, EQ and Tone Stacks
- 08MODULATIONModulation: Phase, Pitch and Motion
- 09SPACEDelay, Reverb and Space
- 10AMPInside the Guitar Amplifier
- 11SPEAKERSpeaker, Cabinet and Air
- 12OUTPUTEngineering the Complete Tone
This course opened by asking how a vibrating string becomes the sound recognised as electric-guitar tone, and has spent twelve weeks following that question through every stage of the chain that answers it. The idea to leave with: guitar tone is not produced by one instrument, pedal, amplifier, or frequency curve. It emerges from a chain of interacting physical and signal-processing systems.
- Player
- String
- Pickup
- Guitar electronics
- Gain stages
- Nonlinear processing
- Filters
- Modulation
- Delay / reverb
- Amplifier
- Speaker / cabinet
- Air
- Listener